When users search “why is my vape device not charging,” they often expect a quick cable replacement to solve everything. The real cause may involve the charger, charging port, battery protection circuit, or internal damage. A device can look clean while pocket lint blocks the connector. Its indicator light may also fail, even when charging continues. That uncertainty deserves careful attention.
Industry guidance treats vaping devices as small electronic products containing lithium-ion batteries, not ordinary disposable gadgets. UL Solutions’ UL 8139 standard evaluates electrical, battery, and charging safety for vaping products. The U.S. Consumer Product Safety Commission has repeatedly warned consumers about overheating, damaged batteries, and unsafe charging practices. The Federal Aviation Administration also advises passengers to protect lithium batteries from damage and carry spare batteries in accessible cabin baggage. These recommendations support a simple principle: charging problems should not be ignored.
A practical inspection starts with the original cable, a compatible power source, and a dry charging port. Do not force the connector. Do not use a device that becomes unusually hot, swells, leaks, smells burnt, or shows physical cracks. Unplug it immediately if these signs appear. Never bypass protective circuits or attempt a homemade battery repair. Still, not every failed charge means the battery is dangerous. A worn cable or dirty contact may be responsible. That is where quick online advice becomes too confident. The following guide examines the most common causes, safer checks, and clear warning signs that require professional support or responsible disposal.
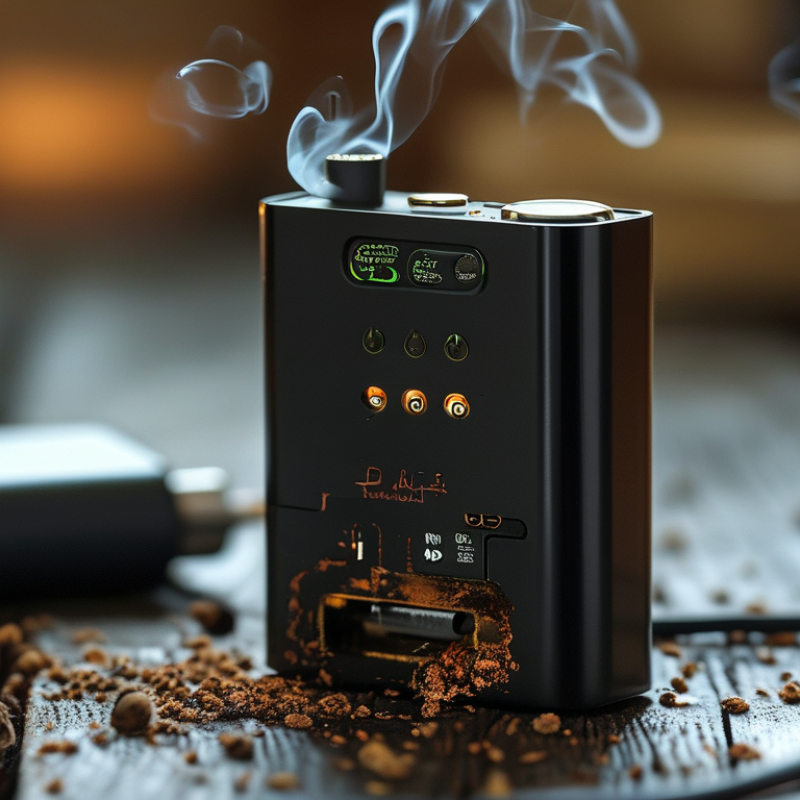
Top Reasons Why Is My Vape Device Not Charging?
When a vape device will not charge, check the power source before blaming the device. A loose wall outlet may provide no power at all. Try another safe outlet and inspect whether other devices work there. Avoid charging from unstable or damaged power sources. A weak computer port can also deliver insufficient power.
The cable is another common cause. Look for bent connectors, exposed wires, or a loose fit. Test with a suitable cable that matches the device’s charging requirements. The adapter matters too. An unsuitable adapter may charge slowly or prevent charging completely. Use the recommended power rating whenever possible. In practice, replacing the cable solves many cases, but not every case. I have sometimes overlooked a dusty charging port because it looked clean at first.
Tips: Turn the device off before charging. Shine a light into the port. Remove visible lint gently with a dry, non-metal tool. Never force the connector. Do not charge a device with swelling, cracks, heat, or liquid damage. Stop immediately if it smells unusual. If the indicator remains inactive after these checks, the internal battery or charging circuit may be faulty. Continued testing can increase risk. A qualified repair professional should inspect it. Guessing is not always helpful.
| Possible Cause | Common Signs | What to Check | Recommended Action | Safety Note |
|---|---|---|---|---|
| Power outlet or power source problem | The device shows no charging indicator, and other devices may also fail to charge. | Check whether the outlet, computer port, or power bank is switched on and working. | Try a different, known-working power source. Avoid loose or damaged outlets. | Stop using any outlet that is hot, sparking, or visibly damaged. |
| Damaged or incompatible charging cable | Charging starts and stops, works only at certain angles, or does not begin. | Inspect the cable for fraying, bent connectors, exposed wires, or a loose fit. | Test with a compatible cable in good condition and make sure the connector is fully inserted. | Do not use cables with exposed wires or damaged connectors. |
| Unsuitable or faulty adapter | The device charges very slowly, becomes unusually warm, or does not respond. | Confirm that the adapter provides the input specified in the device instructions and is not damaged. | Use a compatible, safety-certified adapter with the correct voltage and current requirements. | Do not use an adapter that overheats, buzzes, smells unusual, or has a damaged casing. |
| Dust, e-liquid residue, or debris in the charging port | The connector feels loose, charging is intermittent, or the device does not recognize the cable. | Use a light to inspect the port for lint, dirt, moisture, or residue. | Disconnect the device and carefully remove dry debris using a non-metallic tool or clean, dry air. | Never insert metal objects or charge a device with a wet port. |
| Moisture or liquid exposure | Charging is disabled, the indicator behaves unusually, or liquid is visible near the port. | Check the charging port and surrounding area for moisture or e-liquid residue. | Disconnect the cable, wipe the exterior, and allow the device to dry fully before testing it again. | Do not apply heat or charge the device while moisture is present. |
| Battery completely depleted | The screen or indicator remains off immediately after the cable is connected. | Leave the device connected to a compatible charger for the period recommended in its instructions. | Wait several minutes, then check whether the charging indicator appears. | If the device becomes hot, swells, leaks, or smells unusual, disconnect it immediately. |
| Battery temperature outside the normal range | Charging pauses after use in a hot or cold environment. | Check whether the device is hot from use, exposed to direct sunlight, or stored in very cold conditions. | Move it to a dry, room-temperature location and let it return to a normal temperature before charging. | Do not cool or warm the device rapidly with a freezer, heater, or hair dryer. |
| Charging protection or software lockout | The device appears functional but refuses to charge after an error or abnormal event. | Look for warning messages, flashing indicators, or instructions related to reset and charging protection. | Disconnect the cable, wait briefly, and restart the device only if the instructions permit it. | Do not bypass built-in protection features or modify the charging circuit. |
| Worn, bent, or loose charging port | The connector does not stay in place, the port moves, or charging fails with multiple cables. | Check for bent contacts, a loose port, visible damage, or unusual movement. | Stop repeatedly plugging in the cable and request inspection or repair from a qualified service provider. | Do not force the connector or attempt internal repairs without proper training. |
| Aged or damaged internal battery | The device loses charge quickly, shuts down unexpectedly, or will not charge after other checks pass. | Test a known-working power source, cable, and adapter, then check for swelling, leakage, or physical damage. | Discontinue use and contact the manufacturer or a qualified service center for battery evaluation. | Never puncture, open, crush, or dispose of a lithium battery in household waste. |
Top Reasons Why Is My Vape Device Not Charging?
Identifying Battery, Connection, and Indicator Light Problems
A device that will not charge often has a simple battery or connection problem. Check the battery level first, then inspect the charging port under a bright light. Dust, pocket lint, or dried residue can block contact. A dry, soft brush may remove loose particles. Never push metal objects into the port.
The cable also matters. Try a different compatible cable and a suitable power source. Some cables provide power but do not fit the device correctly. Make sure the connector sits firmly, without forcing it. I have seen users blame the battery when the cable was partly damaged near the plug. That small bend is easy to miss. Still, changing cables does not always solve the issue.
Watch the indicator light carefully. No light may suggest a poor connection, a depleted battery, or an internal fault. A flashing light can indicate charging, while an unusual color may signal an error. Check the device instructions because light patterns differ. If the device becomes hot, smells unusual, leaks, or shows swelling, disconnect it immediately and stop using it. Do not attempt to open the battery compartment. Battery repairs require trained service personnel. Honestly, waiting longer is not always safer. A damaged battery should be assessed, not repeatedly reconnected.
A vape device that will not charge may have a simple connection problem, but its safety system deserves careful testing. Check the charging port under bright light. Dust, lint, or a bent contact can prevent a stable connection. Do not scrape the port with metal. Use a dry, soft brush instead.
Test charging compatibility with the cable and power adapter recommended in the device instructions. Some adapters provide more power than the device can safely accept. A phone charger may fit, yet still be unsuitable. Watch the indicator light for ten minutes. No light, unusual heat, a buzzing sound, or a sharp smell means you should disconnect it immediately. Never charge the device on a bed, sofa, or near paper. Use a hard, non-flammable surface.
Safety features can stop charging when the battery is too hot, too cold, damaged, or fully depleted. Let the device return to room temperature before testing again. Inspect the casing for swelling, cracks, leaks, or a loose battery compartment. Stop using it if any defect appears. Do not bypass protective circuits or force a connection. I once assumed a dead indicator meant a failed battery; the cable was actually damaged. That mistake still matters. If the device remains unresponsive, contact qualified service support or follow the disposal guidance in its instructions.
Top Reasons Why Is My Vape Device Not Charging?
A charging failure does not always mean a dead battery. Check the cable, adapter, and charging port first. Dust, lint, moisture, or a bent contact can interrupt power. A dark screen alone proves little. It is tempting to blame the battery immediately, but that judgment is often premature. Try a compatible charging setup once, while monitoring unusual heat, flickering, or repeated connection loss.
Battery damage usually shows clearer warning signs. Watch for swelling, a chemical smell, hissing, cracking, sudden overheating, or a battery that drains unusually fast. Stop charging immediately if any sign appears. Do not press, puncture, open, or freeze the device. Place it away from flammable materials and seek qualified recycling or repair guidance. The U.S. Fire Administration’s 2017 Electronic Cigarette Fires and Explosions report documented 195 incidents from 2009 to 2016. Its findings connected many events with battery failure, charging, or physical damage.
Device failure can also involve the charging board, internal wiring, or moisture damage. A port that feels loose may indicate internal separation. Repeatedly changing cables can hide the real fault. That matters. NFPA guidance on lithium-ion batteries identifies heat, swelling, odor, and hissing as warning signals. If the device stays completely cold and unresponsive, professional inspection is safer than repeated charging attempts. One limitation remains: visible symptoms cannot confirm internal damage, so cautious replacement may be wiser than guessing.
Recognizing signs of battery damage or device failure starts with understanding the electrical reference points used by rechargeable lithium-ion devices.
A standard USB power source commonly supplies about 5 V, while a single lithium-ion cell is typically rated at 3.6–3.7 V and reaches approximately 4.2 V when fully charged. If the charging port is dirty, the cable or adapter is faulty, the battery has entered low-voltage protection, or the cell shows swelling and unusual heat, the device may stop charging. Exact protection limits vary by device, so a damaged or overheating battery should not be used.
When a vape device will not charge, safe troubleshooting matters more than speed. Check the wall adapter, cable, and charging port for visible damage. A loose connection or pocket lint can interrupt charging. Remove debris gently with a dry, non-metallic tool. Never force the cable into place.
Stop using the device if it becomes unusually hot, swells, leaks, smells strange, or shows damaged wiring. Do not open the battery housing or attempt soldering without specialist training. Lithium batteries can release dangerous heat after a small mistake. I have seen people replace a cable first, then discover the port was damaged. That assumption can waste money.
Replacement parts should match the device’s specifications, including voltage, connector type, and battery design. Avoid random batteries or modified chargers. A repair shop or authorized service provider can test the charging circuit safely. Ask whether they inspect the battery, port, and power regulation system. Request a clear price before approving work. If the device has been dropped or exposed to water, professional inspection is wiser than repeated charging attempts. I still think basic checks are useful, but they cannot reveal every internal fault. Dispose of swollen or failed batteries through a local battery-recycling program, not household waste.
: The battery may be empty, or the charging connection may be blocked. Check the port under bright light.
Use a dry, soft brush to remove loose dust or lint. Never insert metal objects into the port.
Yes. Try another compatible cable and inspect the plug for bends, cuts, or loose parts.
No. Use the cable and adapter recommended in the instructions. A connector may fit but still be unsuitable.
A flashing light may show charging. No light may indicate poor contact, a drained battery, or an internal fault.
Observe it for about ten minutes. Stop immediately if it becomes hot, buzzes, smells sharp, or behaves unusually.
Place it on a hard, non-flammable surface. Avoid beds, sofas, paper, and other soft materials.
Disconnect it if you notice swelling, cracks, leaks, unusual heat, or a damaged casing. Do not reconnect it repeatedly.
No. Do not open the device or force a connection. Battery repairs need qualified service personnel.
Follow the instructions for qualified support or disposal. Changing the cable may not solve everything. I might blame the battery too quickly.
If you are wondering why is my vape device not charging, start by checking the simplest possible causes. Confirm that the power source works, inspect the charging cable and adapter for damage, and make sure the charging port is clean and free of debris. Also examine the battery connection and indicator light, since unusual blinking, no light, or an interrupted charge may point to a connection issue, low battery condition, or an internal fault.
Next, verify that the charger and device are compatible and that any built-in safety features have not stopped charging because of overheating, moisture, or an unsuitable power supply. Do not continue using a device with swelling, leaking, a burning smell, excessive heat, or visible damage, as these may indicate battery failure. Avoid unsafe repairs or improvised replacement parts. If basic checks do not solve the problem, stop using the device and seek guidance from a qualified technician or replace it with a properly compatible, safety-certified device.
