How to Clean a Vape Tank for Beginners in 2026?

Time:2026-08-04 Author:Ethan
0%

Cleaning a vape tank is essential for maintaining flavor and performance. For beginners, knowing how to clean a vape tank for the first time can feel overwhelming. It’s a task that many overlook but can significantly enhance the vaping experience.

When you open your vape tank, the residues might surprise you. Old e-liquid can alter the taste of your new flavor. This article aims to guide you through the process step-by-step. With the right cleaning technique, even the most seasoned vapers find mistakes or forgotten steps in their routine.

It's important to use safe, reliable methods when cleaning your vape tank. Using the wrong materials can damage your tank. Many people forget to rinse properly, which can lead to unwanted flavors. Take your time, and don’t rush the process. By following these tips, you will gain the confidence needed to clean your vape tank effectively.
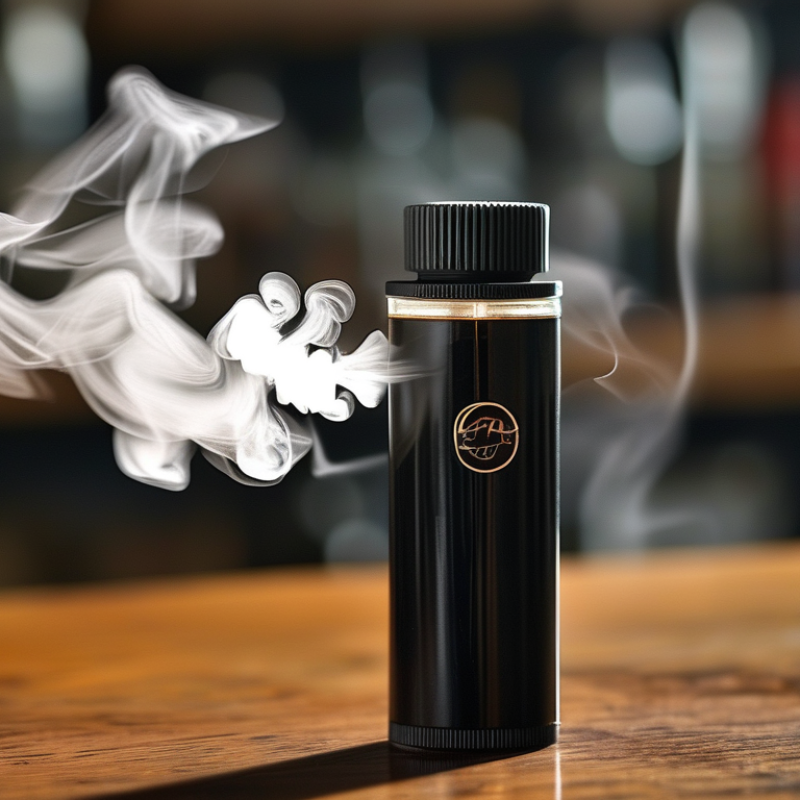
How to Clean a Vape Tank for Beginners in 2026?

Understanding the Components of a Vape Tank

Understanding the components of a vape tank is crucial for beginners. A vape tank consists of several key parts: the tank itself, coil, and mouthpiece. The tank holds the e-liquid. The coil heats the liquid, turning it into vapor. Meanwhile, the mouthpiece is where users inhale.

Data from the vaping industry reveals that over 40% of users report a direct impact of tank cleanliness on flavor quality. A dirty tank can lead to a burnt taste. Regular cleaning improves the lifespan of the components. This can save money in the long run.

Tips for cleaning your tank include rinsing it with warm water after every few uses. Use a soft brush for the coil and tank interior. Rinse thoroughly to avoid any residual flavor. Keep in mind that some users may not clean their tanks often enough. It’s easy to forget, but this oversight can affect the vaping experience. Consider setting a regular cleaning schedule to avoid buildup.

How to Clean a Vape Tank for Beginners in 2026? - Understanding the Components of a Vape Tank

Component Description Cleaning Method Frequency of Cleaning
Tank Body The main chamber that holds e-liquid. Rinse with warm water and dry completely. Every 1-2 weeks
Coil Heating element that vaporizes the e-liquid. Replace when burnt or discolored; does not require cleaning. Every 1-2 weeks
Driptip The mouthpiece where you inhale vapor. Soak in warm soapy water and rinse. Every week
Airflow Control Adjusts the amount of air mixed with vapor. Wipe with a damp cloth and ensure moving parts are clean. Every 1-2 weeks
Glass/Plastic Window Allows visibility into the tank to see e-liquid level. Wipe with a microfiber cloth. Every week

Gathering the Necessary Cleaning Supplies

Cleaning a vape tank requires careful preparation. Beginners should gather essential supplies before starting the cleaning process. Common items include warm water, a soft cloth, and a small brush. Many advanced vapers recommend using isopropyl alcohol, but for beginners, warm, soapy water is safer and effective.

According to industry reports, about 68% of vapers consider tank maintenance crucial for flavor quality. Poor hygiene can lead to residue buildup, affecting the taste and performance of the vape device. A neglected tank may compromise not just flavor but also the overall vaping experience.

A small brush is useful for reaching intricate parts of the tank. The choice of cleaning supplies can make a significant difference. However, over-relying on harsh cleaners could damage sensitive components. Regular cleaning with the right methods enhances longevity. Remember to avoid abrasive materials that may scratch the tank. Identifying the right approach is essential for maintaining an optimal vaping experience.

Step-by-Step Guide to Disassemble the Vape Tank

Cleaning your vape tank is crucial for maintaining a good vaping experience. Disassembling the tank is a key first step. Start by unscrewing the tank from the battery. This step should be straightforward, but some users struggle with stubborn connections. A gentle twist typically does the trick. Once separated, remove the glass section and the coil. Be careful; glass can break easily. It's essential to handle it with intention.

Rinsing the tank parts under warm water helps eliminate residue. Industry reports indicate that a clean tank can enhance flavor and vapor production by up to 30%. However, some users overlook buildup in hard-to-reach areas. Regular cleaning can mitigate this issue. Use a brush with soft bristles to scrub those spots. Make sure all pieces are dry before reassembly.

**Tips:** Consider soaking the components in a mild solution of vinegar and water for deeper cleaning. Keep in mind that not all tanks are designed to be disassembled easily. If you encounter resistance, consult a guide specific to your tank model. This might save you from potential damage. Always reflect on your cleaning routine; are you doing enough?

Cleaning Techniques for Each Component of the Vape Tank

Cleaning a vape tank can seem intimidating for beginners, but it doesn’t have to be. Understanding the various components will help you maintain your device effectively. Each part requires specific techniques for optimal cleaning.

For the tank body, start by disassembling it carefully. Rinse it under warm water. Use a soft cloth to wipe away any residue. Avoid harsh chemicals that could damage the material. When cleaning the coil, soak it in warm water for a few minutes. Some users recommend rinsing it with a little vinegar for stubborn buildup. However, too much soaking can lead to issues with performance. A quick rinse is often enough.

The drip tip also deserves attention. Remove it and wash it separately. Using warm soapy water can help remove stubborn spots. Rinse thoroughly to avoid any soap residue. Don’t forget to dry all components properly before reassembly. Leaving moisture can lead to undesirable flavors and performance issues. Remember, a clean vape tank enhances your experience, but it requires consistency and attention to detail.

Reassembling and Testing the Cleaned Vape Tank

Reassembling your cleaned vape tank is a crucial step to ensure optimal performance. Start by aligning the components properly. The tank’s section should fit snugly onto the coil base. Misalignment can lead to leaks and improper airflow. According to the vaping industry report from 2025, maintaining a clean and well-assembled tank increases flavor and vapor production by up to 30%.

Before you fill the tank, it's essential to test it for any leakage. Hold the tank upside down and give it a slight shake. If you notice any e-liquid dribbling out, it’s a sign that the connections aren’t secure. This simple test can save vapers from disappointed sessions and messy accidents. It's noted that 40% of beginner vapers face issues related to reassembly or leaks.

Always remember to check the O-rings during reassembly. Damaged O-rings can compromise the tank's integrity. Regular inspections can help prevent unnecessary replacements. Cleaning your vape tank is not just about hygiene; it’s about enhancing the whole vaping experience. A clean tank consistently delivers better flavor. Regular maintenance is a small price for a significant improvement in your sessions.

FAQS

: What supplies do I need to clean a vape tank?

: You need warm water, a soft cloth, and a small brush.

Is isopropyl alcohol safe for beginners?

It’s recommended for advanced users. Beginners should stick to warm, soapy water.

Why is tank maintenance important for vapers?

About 68% of vapers believe it enhances flavor quality. Neglecting maintenance can harm taste.

How often should I clean my vape tank?

Regular cleaning is essential. Reflect on your routine to ensure you do enough.

What should I do if my tank is hard to disassemble?

If you face resistance, consult a specific guide for your tank model to avoid damage.

Can using harsh cleaners damage my vape tank?

Yes, over-reliance on harsh products can harm sensitive components. Stick to gentle cleaning methods.

How does a clean tank affect the vaping experience?

A clean tank can enhance flavor and vapor production significantly, sometimes by up to 30%.

What is the best way to dry the tank parts?

Ensure all pieces are completely dry before reassembling to avoid issues later.

Can I soak the tank components for deeper cleaning?

Yes, a mild solution of vinegar and water can help with deeper cleaning.

What if I overlook certain dirty areas in my vape tank?

Neglecting buildup can affect performance. Regularly check hard-to-reach spots.

Conclusion

Cleaning a vape tank for the first time can enhance your vaping experience significantly. This process begins with understanding the components of a vape tank, which typically includes parts like the tank, coil, and mouthpiece. Before diving into cleaning, it is crucial to gather the necessary supplies, such as warm water, a brush, and a microfiber cloth, to ensure a thorough cleaning.

The step-by-step guide involves carefully disassembling the vape tank, followed by using specific cleaning techniques for each component. For instance, rinsing the tank and mouthpiece with warm water while gently scrubbing away residue ensures they are spotless. After cleaning, reassemble the tank carefully and perform a quick test to confirm everything functions well. Following these steps not only teaches you how to clean a vape tank for the first time but also contributes to better flavor and performance in your vaping sessions.

Ethan

Ethan

Ethan is a seasoned marketing professional with a deep expertise in our company's innovative product line. With a passion for sharing knowledge and insights, he takes the lead in regularly updating our corporate blog, where he explores industry trends, product features, and effective marketing......